3.2 KiB
Windows Build Scripts
-
A convenience script for building is provided in
.ci/windows/build.sh. -
You must run this with Bash, e.g. Git Bash or the MinGW TTY.
-
To use this script, you must have
windeployqtinstalled (usually bundled with Qt) and set theWINDEPLOYQTenvironment variable to its canonical Bash location:WINDEPLOYQT="/c/Qt/6.9.1/msvc2022_64/bin/windeployqt6.exe" .ci/windows/build.sh.
-
You can use
aqtinstall, more info on https://github.com/miurahr/aqtinstall and https://ddalcino.github.io/aqt-list-server/ -
Extra CMake flags should be placed in the arguments of the script.
Additional environment variables can be used to control building:
-
BUILD_TYPE(defaultRelease): Sets the build type to use. -
The following environment variables are boolean flags. Set to
trueto enable orfalseto disable:-
DEVEL(default FALSE): Disable Qt update checker -
USE_WEBENGINE(default FALSE): Enable Qt WebEngine -
USE_MULTIMEDIA(default FALSE): Enable Qt Multimedia -
BUNDLE_QT(default FALSE): Use bundled Qt -
Note that using system Qt requires you to include the Qt CMake directory in
CMAKE_PREFIX_PATH.ci/windows/build.sh -DCMAKE_PREFIX_PATH=C:/Qt/6.9.0/msvc2022_64/lib/cmake/Qt6
-
-
After building, a zip can be packaged via
.ci/windows/package.sh. You must have 7-zip installed and in your PATH.- The resulting zip will be placed into
artifactsin the source directory.
- The resulting zip will be placed into
🖥️ Method III: CLion Environment Setup
a. Prerequisites to CLion
- CLion - This IDE is not free; for a free alternative, check Method I
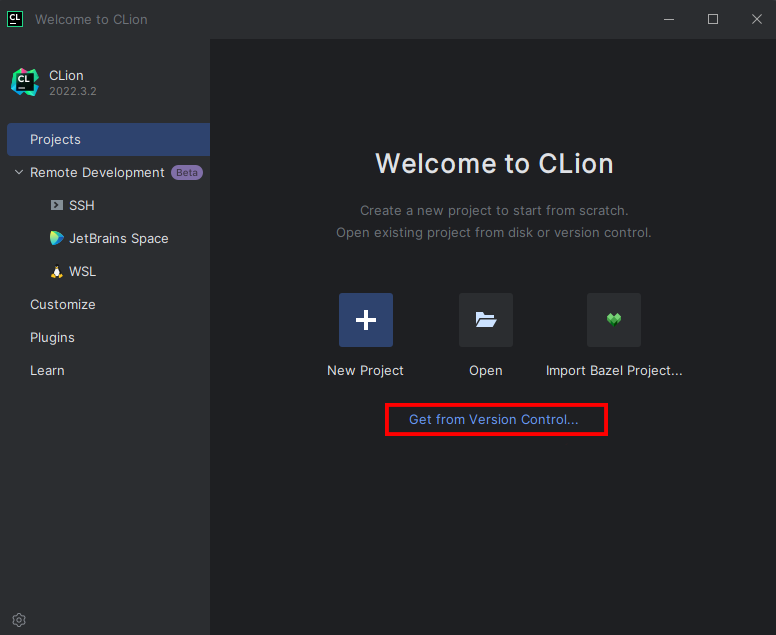
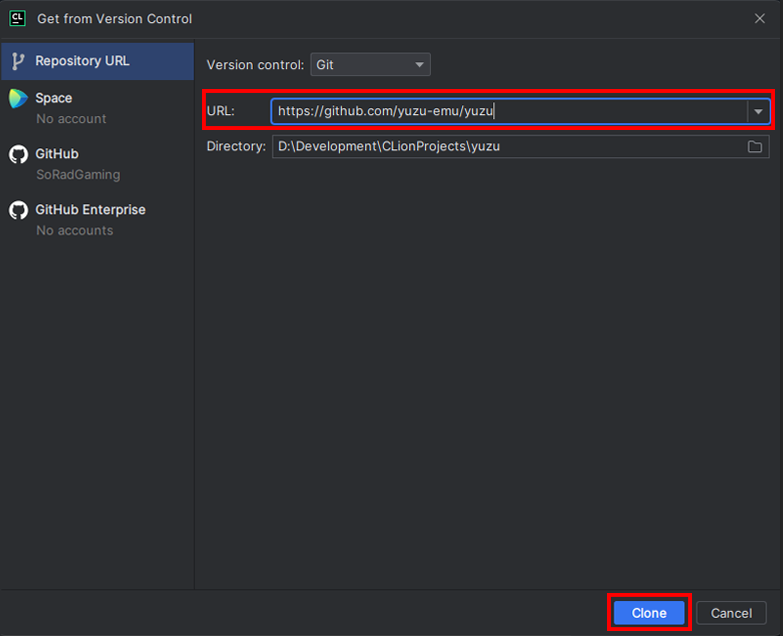
b. Cloning eden with CLion
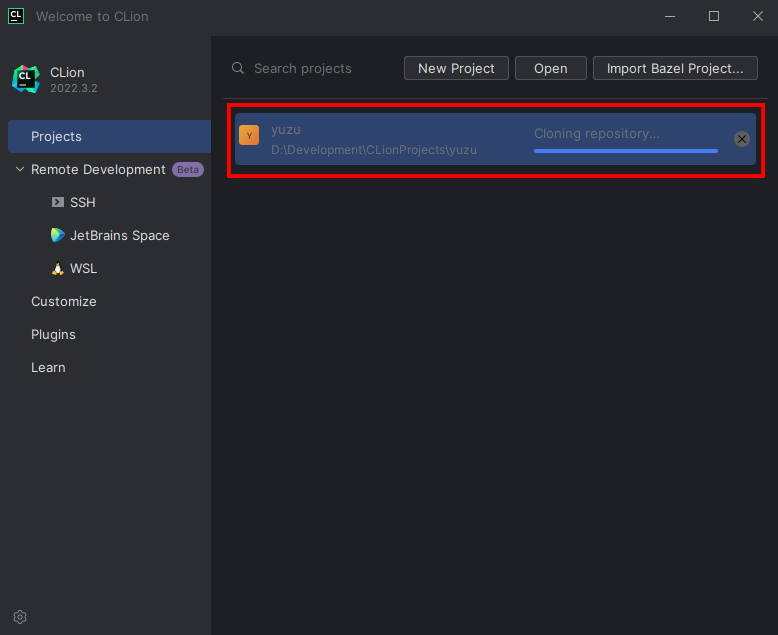
- Clone the Repository:
c. Building & Setup
- Once Cloned, You will be taken to a prompt like the image below:

- Set the settings to the image below:
- Change
Build type: Release - Change
Name: Release - Change
Toolchain Visual Studio - Change
Generator: Let CMake decide - Change
Build directory: build
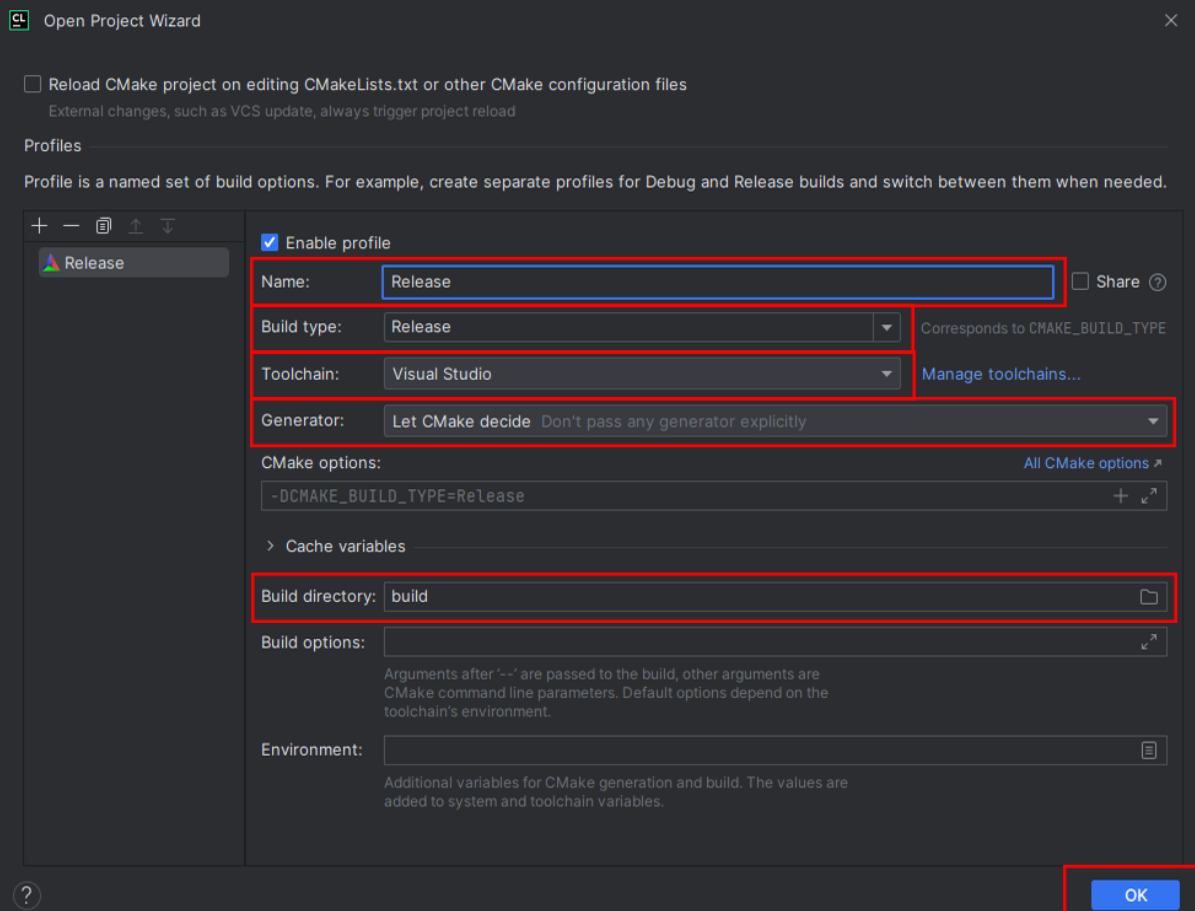
- Click OK; now Clion will build a directory and index your code to allow for IntelliSense. Please be patient.
- Once this process has been completed (No loading bar bottom right), you can now build eden
- In the top right, click on the drop-down menu, select all configurations, then select eden
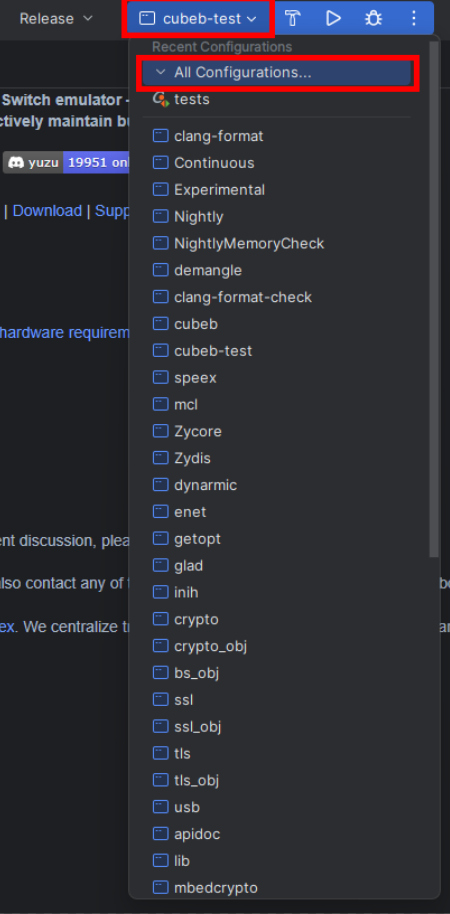
- Now run by clicking the play button or pressing Shift+F10, and eden will auto-launch once built.
